
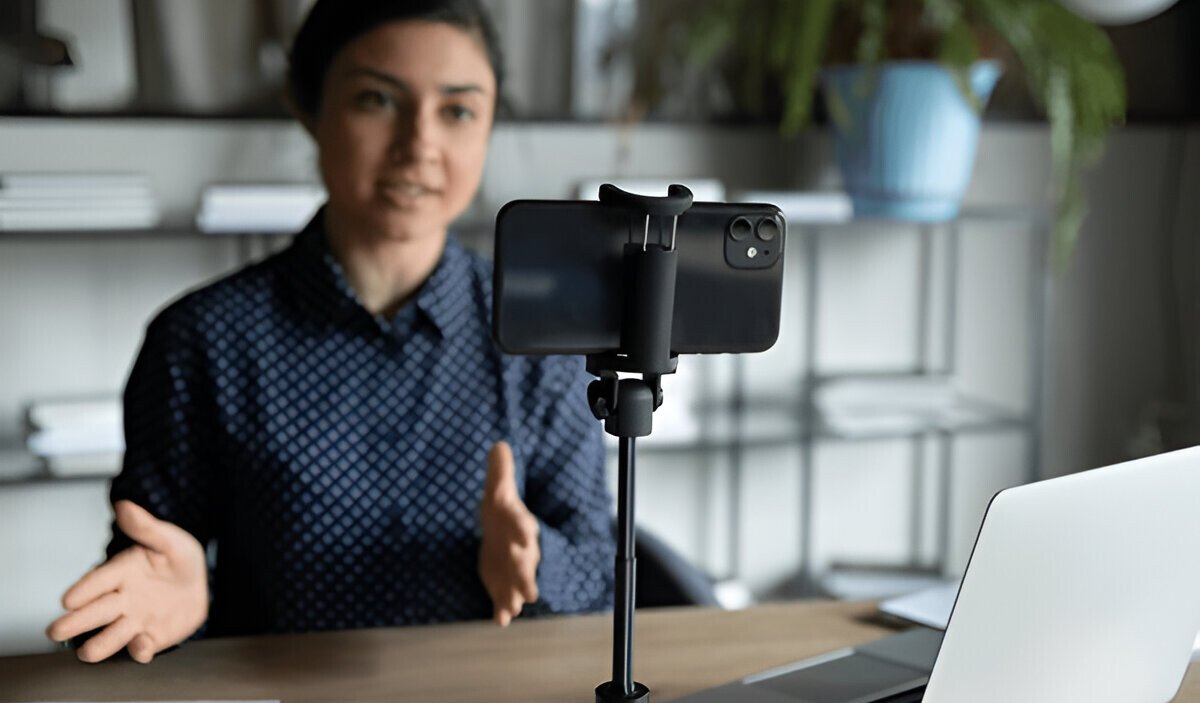
Webinars have become a core tool for marketing, education, and brand building. But simply going live isn’t enough. The real impact comes from how professionally your content is recorded and edited.
In this guide, you’ll learn how to record and edit your webinar like a pro — even if you don’t have a big production team or fancy gear. Every step is broken down for clarity, so whether you’re new or experienced, you’ll get value from it.
Why Quality Recording and Editing Matter
People judge your content within seconds. Poor video quality or bad audio can make them leave before hearing your message. A well-recorded and well-edited webinar creates trust, retains viewers, and opens the door to repurposing the content later.
Think about your favorite YouTube channel or online course. Chances are, the clean presentation helped you stick around. You want that same result for your webinar.
Once your webinar is polished and published, don’t forget the impact of mastering follow-up emails to keep the momentum going after your virtual event.
Pre-Recording Setup: Laying the Groundwork
Choose the Right Platform
Platforms like Zoom, Google Meet, or dedicated tools like WebinarJam and Demio offer built-in recording features. The right one depends on your budget, the size of your audience, and whether you want cloud or local recording.
Make sure the platform supports HD recording and clear audio output. Test this before your actual webinar day.
Get Your Equipment Right
You don’t need Hollywood equipment, but a few upgrades help:
-
Camera: A 1080p webcam works great. Avoid using your laptop’s built-in cam unless it’s high quality.
-
Microphone: Invest in a USB microphone like Blue Yeti or Rode NT-USB. Clear audio matters more than video.
-
Lighting: Natural light or a ring light placed behind your webcam makes a big difference.
Position yourself in a quiet room. Turn off background apps and notifications. These small steps prevent distractions and tech hiccups during your webinar.
Recording Your Webinar Like a Pro
Practice First
Don’t wait for the live day to discover issues. Do a full test run. Record it. Watch it. You’ll catch things like awkward pauses, background noise, or timing issues.
Practicing also helps you feel more relaxed, which naturally improves your delivery.
Use Screen Sharing Wisely
If you’re presenting slides, don’t just dump a deck on the screen. Move through it smoothly. Use animations and highlights to guide attention. Keep your face visible in a corner using picture-in-picture if your platform supports it.
Engaging visuals paired with a confident voice create a strong impact.
Monitor the Recording During the Webinar
If possible, have a co-host watch the recording in real-time. They can monitor quality, chat questions, or handle technical issues.
This way, you stay focused on delivering your message without splitting your attention.
Editing the Webinar for a Professional Finish
Use the Right Editing Tools
You don’t need to be a video editor to polish your webinar. Tools like:
-
Camtasia (easy for beginners)
-
Adobe Premiere Pro (for advanced users)
-
Descript (great for quick editing with transcripts)
These let you cut awkward moments, remove background noise, add transitions, and insert branding.
Trim the Dead Space
Cut out the first few seconds where nothing happens. Remove long pauses, tech errors, or any point where the energy drops. Keep the flow tight and engaging.
You’re not changing the message — just removing what viewers don’t need to see.
Add Branded Intros and Outros
Start with a short branded intro — your logo, the topic name, maybe soft music. End with a strong call to action. Whether it’s visiting your website, signing up, or following you on social media, guide them clearly.
These small touches make your webinar feel like a complete, thoughtful production.
Enhance Viewer Experience with Subtitles and Chapters
Add Captions
Many people watch webinars without sound, especially on mobile. Add captions to make your content accessible and viewer-friendly.
Descript, YouTube Studio, and Kapwing offer easy tools to add subtitles manually or with auto-transcription.
Insert Chapters
Chapters allow viewers to skip to sections they care about — great for replays. Use timestamps and titles like:
-
00:00 – Introduction
-
02:30 – Key Concepts
-
07:00 – Live Demo
-
15:00 – Q&A Session
This adds professionalism and improves retention.
Export and Share Smartly
Optimize Video Format and Quality
When exporting your edited video, choose an MP4 format with H.264 encoding. Keep the resolution at 1080p. This format balances high quality and manageable file size.
Test the playback on different devices before sharing.
Upload to the Right Platform
Use platforms like YouTube (unlisted or public), Vimeo (for gated content), or your website. Embed it cleanly. Use an engaging thumbnail, and write a short description for SEO.
If your audience signed up for the webinar, send them the replay link quickly — ideally within 24 hours.
Repurpose the Content
Don’t let the webinar sit after you’ve shared the replay.
Break it into short clips for social media. Pull key quotes for blogs. Turn the transcript into a written guide or downloadable PDF.
This maximizes your effort and gives your content a longer life.
Final Thoughts
Recording and editing your webinar like a pro isn’t about fancy tools or a video team. It’s about preparation, clarity, and attention to detail.
From setting up your environment to polishing the replay, every step plays a part in how your audience perceives you. With the right focus, your webinars won’t just inform — they’ll impress.
Start by recording your next session with intention. Edit it thoughtfully. And you’ll stand out in a crowded digital world.


Webinar Analytics: A Complete Guide to Measuring Success and Improving Performance
The Ultimate Webinar Follow-Up Strategy to Turn Attendees into Customers
Webinar Accessibility Best Practices: How to Make Your Online Events Inclusive for All
Webinar Personalization: Tailoring Content to Audience Segments for Maximum Engagement