
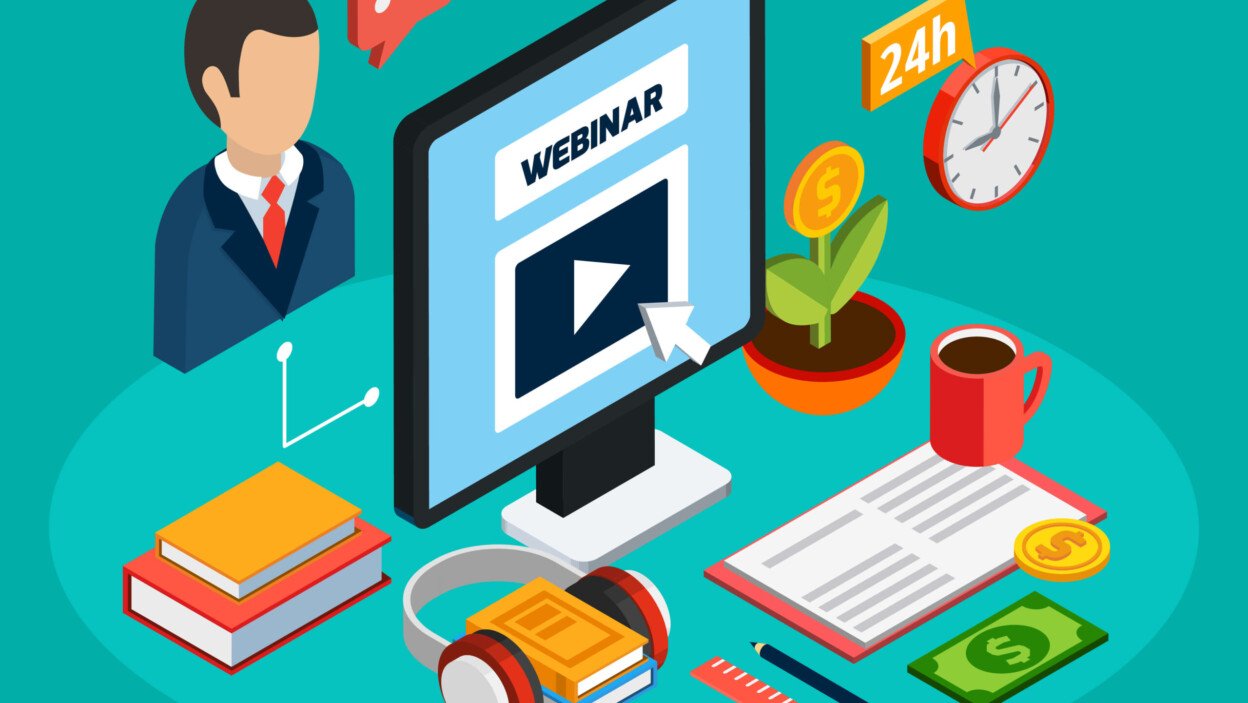
Recording webinars has become a vital practice for anyone running virtual events, online classrooms, or content creation. Be it an online educator who is saving their sessions for students who missed them or a content creator who wishes to reuse the webinars for marketing, the recording guarantees that all your efforts don’t disappear the moment your live webinar comes to an end.
In this guide, we’ll cover how to record webinars effectively, with all the tools you’ll need, a step-by-step tutorial, and ways to make your recordings high-quality. And we’ll also point to legal facts to ensure your recordings are compliant.
Tools You Need to Record Webinars
Before you hit the record button, you need the right setup. Here’s a quick breakdown of the software and hardware options available.
Software Options for Recording
Many webinar platforms come with built-in recording features, while others might require third-party software. Here are some popular tools:
- Zoom
- Built-in recording functionality (on both free and paid plans).
- Option to save directly to cloud storage or locally on your device.
- Microsoft Teams
- Enables webinar recording with permission from the meeting host.
- Saves recordings directly to OneDrive or SharePoint.
- Offers high-definition recording capabilities for webinars.
- Free plans include recording options, but storage is limited.
- Third-party Tools (for platforms without recording):
- OBS Studio (free and highly customizable).
- Camtasia (paid software for professional-grade recordings).
- ScreenFlow (ideal for Mac users; supports editing and recording).
Hardware for Optimal Recordings
To achieve top-notch quality, investing in good hardware can elevate your recordings:
- Microphones: Use external mics for clear audio. Popular options include Blue Yeti or Rode NT-USB.
- Cameras (Optional): For webinars with speaker presentations, external webcams like Logitech Brio improve video quality.
- Lighting (Optional): Ensure proper visibility by using ring lights or softbox lighting.
How to Record a Webinar Step-by-Step
Now that you’ve got your tools ready, here’s a step-by-step guide for recording webinars using Zoom as an example. The process will be similar across platforms.
Step 1: Prepare Your Webinar
- Select “Record” Settings: Log into your Zoom account and head to “Settings.” Enable recording options, choosing between local or cloud storage.
- Check Permissions: If you’re co-hosting, confirm that all participants agree to being recorded.
- Test Audio/Video: Do a quick tech check to ensure everything is working.
Step 2: Start the Webinar
- Start your webinar on the scheduled date and time.
- Once the webinar begins, locate the “Record” button (often in the lower toolbar). Click it to start recording.
Step 3: Manage the Recording
- Pause or Stop as Needed: During the webinar, Zoom lets you pause or stop the recording without ending the session itself.
- Annotate if Necessary: Use screen-sharing tools for real-time annotations. These will also appear in your recording.
Step 4: Save and Store Your Recording
Once your webinar is over, stop the recording. Zoom will automatically save the file to your chosen location. Local files are saved as MP4s, which are easy to edit and upload.
Cloud recordings will display a link for online access after processing is complete.
Tip: Always name your recording descriptively (e.g., “MarketingTipsWebinar_August2024”) to keep your files organized.
Tips for High-Quality Webinar Recordings
Every host wants their recordings to look and sound professional. Follow these tips to ensure your quality is top-notch:
Optimize Audio
- Use headphones to eliminate background noise or feedback.
- Conduct a test run to adjust your microphone’s sensitivity.
Improve Video Quality
- Choose a clean, well-lit space to avoid dark or distracting backgrounds.
- Use HD settings in your webinar platform and adjust the video resolution to at least 1080p.
Prepare Visual Materials
- Ensure all slides, screen shares, or visuals are clear and easy to read. Avoid cluttered graphics and use bold fonts for legibility.
Record a Backup
Even the most reliable platforms can occasionally fail. Using a secondary tool like OBS Studio or ensuring additional cloud storage will safeguard your recording.
Legal Considerations for Webinar Recording
Recording webinars often involves privacy and copyright laws. These tips will keep you on the right side of the law:
Obtain Consent
Most countries require you to notify participants if they’re being recorded. Always announce it at the start of the webinar or include a disclaimer in your registration form.
Respect Copyrights
If your webinar includes third-party visuals (e.g., licensed images, videos, or music), ensure you have the rights to distribute recorded versions.
Safeguard Sensitive Data
Be mindful of personally identifiable information (PII) shared during the webinar. Edit out sensitive sections before distributing recordings publicly.
Start Recording Today!
Recording webinars not only preserves valuable content but also unlocks opportunities for repurposing. Whether for training videos, promotional material, or simply legacy archives, recorded webinars are an asset.
And recording webinars can save precious content that can be repurposed for other outlets. Recorded webinars are an asset be it for training videos, promotional material or even legacy archives.
Providing the right tools, stepwise guidance, and excellence in quality will leave your recordings memorable for your audience. Just make sure you stay on the right side of privacy laws so you don’t get into unwanted legal hot water.


Webinar Analytics: A Complete Guide to Measuring Success and Improving Performance
The Ultimate Webinar Follow-Up Strategy to Turn Attendees into Customers
Webinar Accessibility Best Practices: How to Make Your Online Events Inclusive for All
Webinar Personalization: Tailoring Content to Audience Segments for Maximum Engagement